
Fingertech switches are a very popular power switch in Ant weight (1lb) and Beetleweight (3lb) combat robots. By default, it comes with the contacts on the same side of the switch. This works great for many applications. Sometimes, however, it can simplify your wiring if the contacts come out of each side of the switch.
Casey Jeremiason of Barcode Robotics put together a write-up of two good ways to modify a Fingertech Mini Switch to be inline.
#1 Add a Note When Ordering from Fingertech
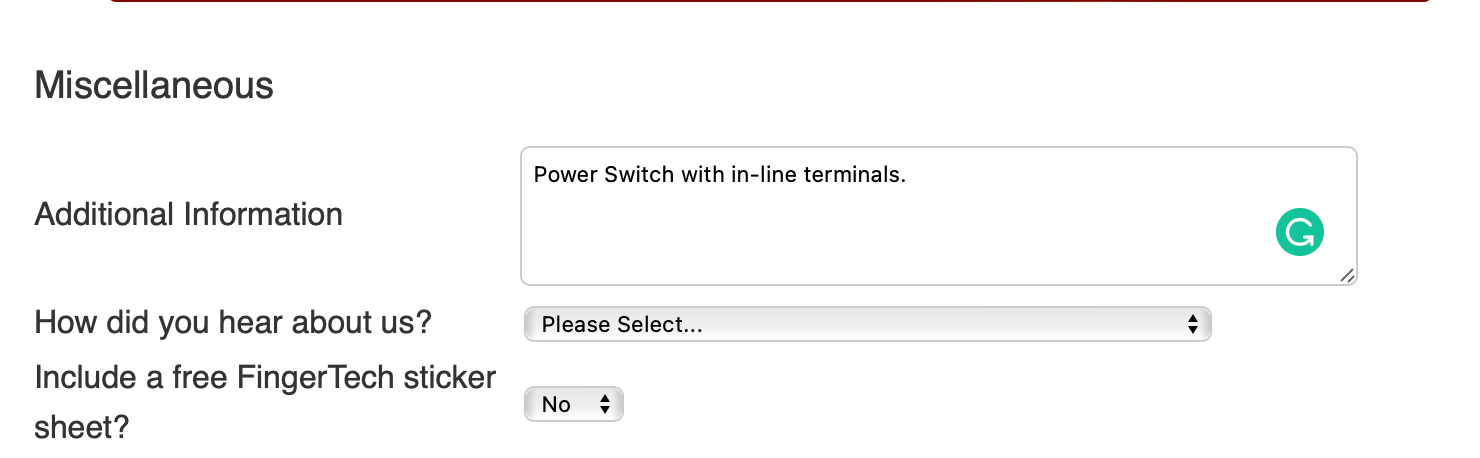
When you place an order, write into the Additional Comments at checkout: "Power Switch with in-line terminals." This is the easiest way to get an inline Fingertech switch.
#2 Double Boiler (about 45 minutes)
However, if you already have a Fingertech switch you'd like to modify then head to the kitchen.
The Fingertech power switch is made of two nylon halves glued together with cyanoacrylate (CA) glue. CA glue debonds around 180ºF(82ºC), so the object here is to heat the switch to a little over that temperature and sustain the heat for enough time to weaken the bond of the glue holding the two halves together.
Things you will need:
- Small pot
- Smaller pot or bowl
- Water
- Stove or hot plate
- CA glue (super glue)
- Razer balde
- Multimeter (to verify the switch work correctly when you are done)
Step 1: Open the switch
- Fill a small pot with roughly 2 inches of water.
- Place a second smaller container inside of the small pot, fill with roughly 1 inch of water.
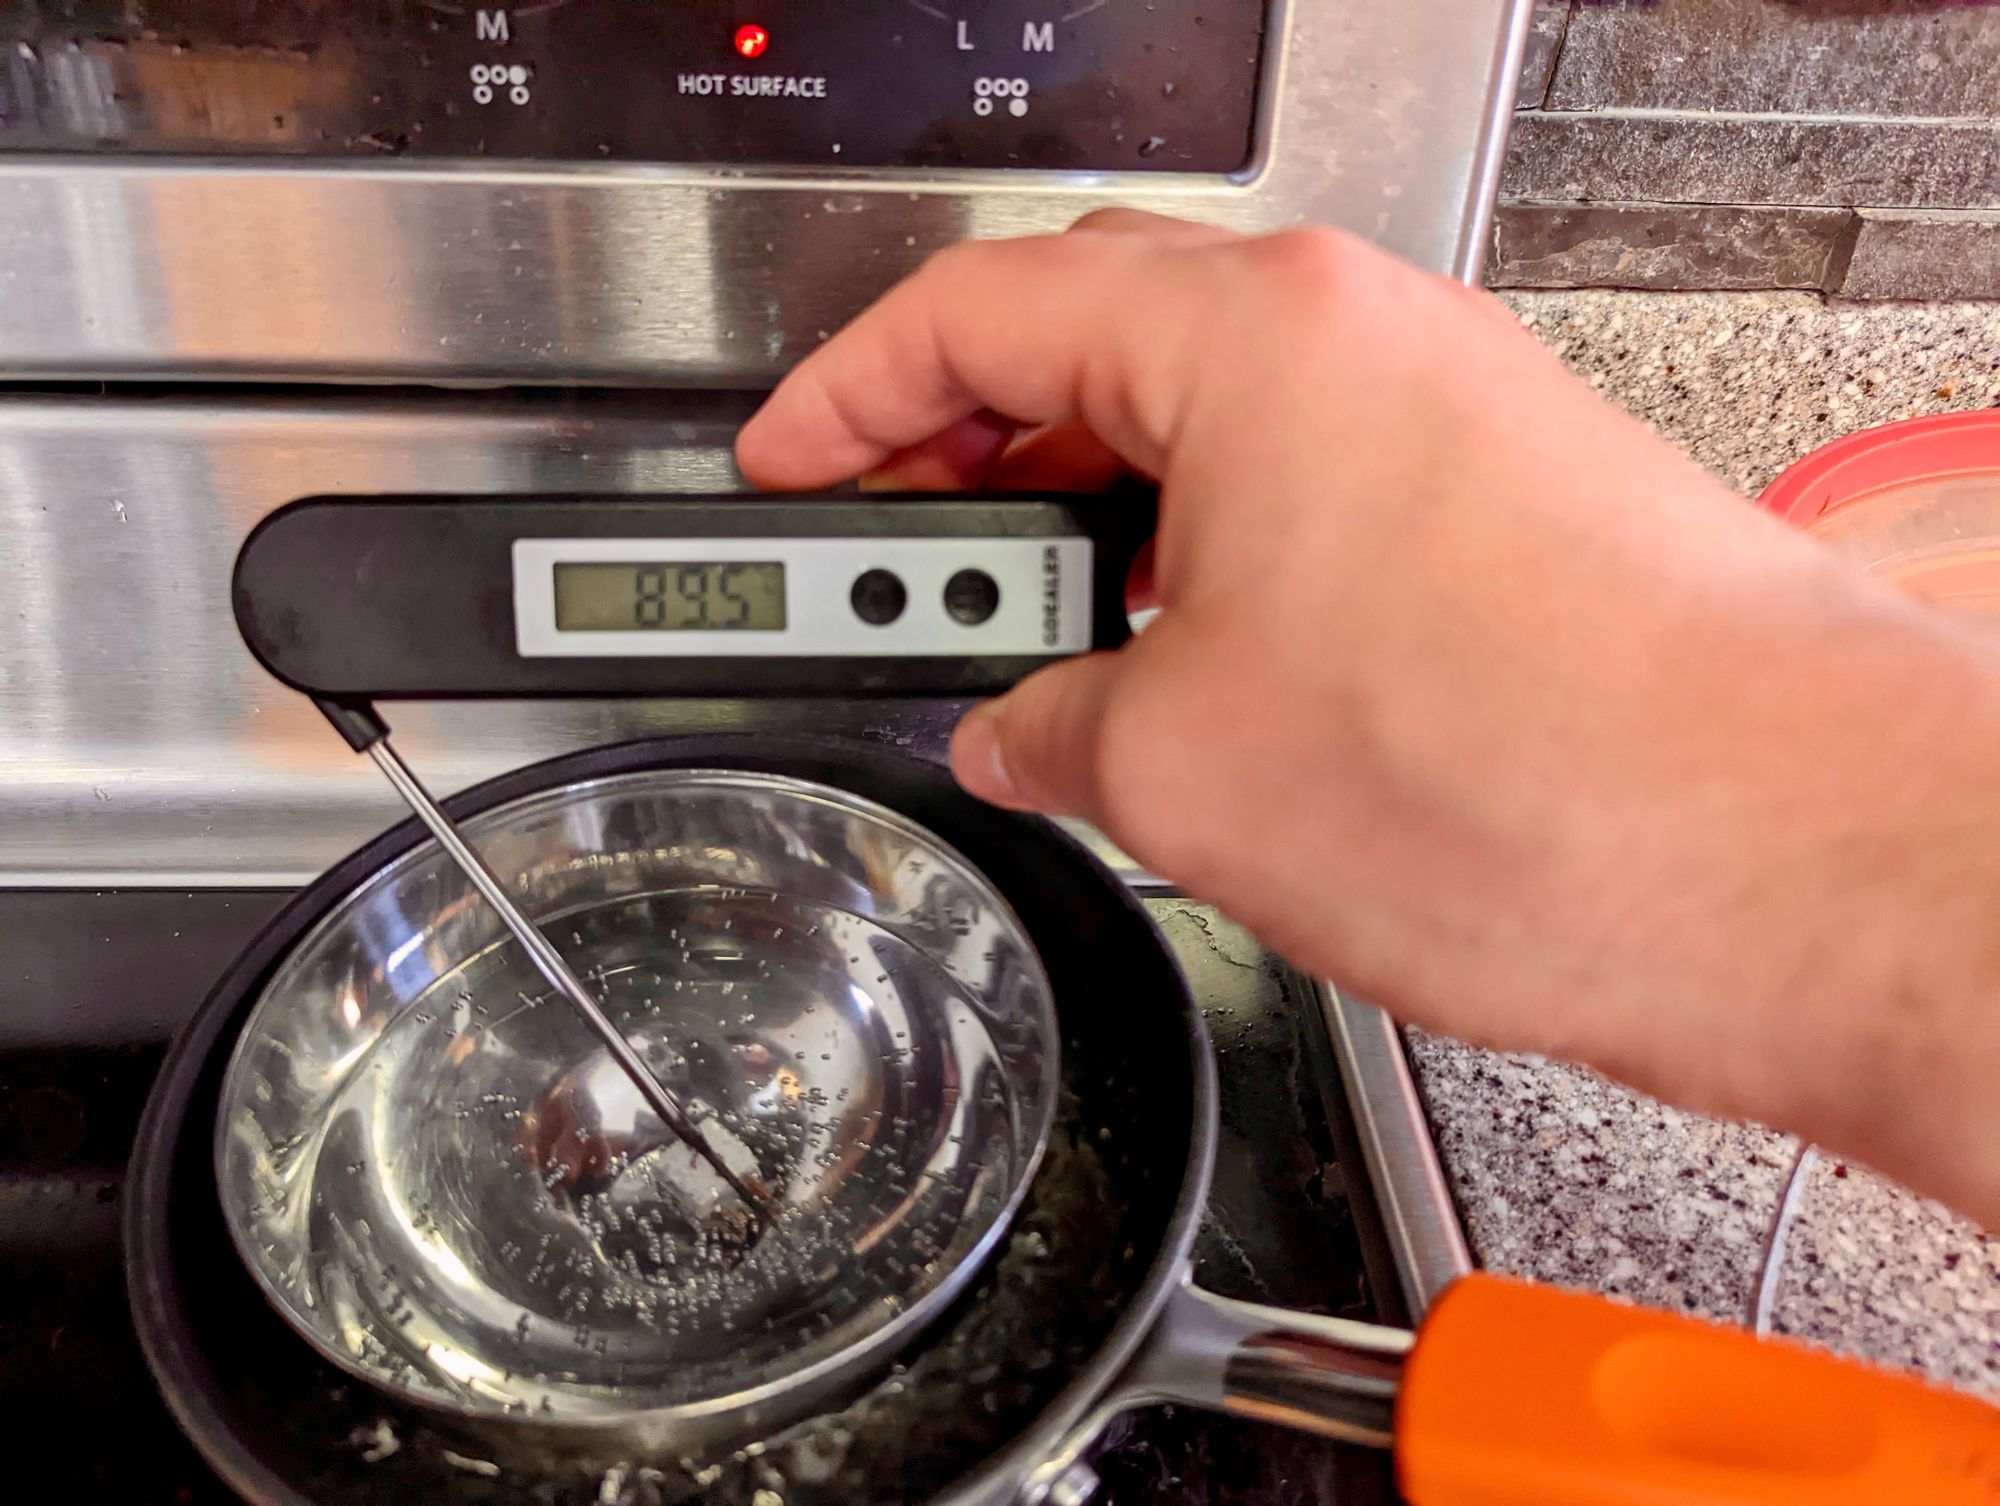
- Remove the aluminum screw from the FT switch and place the switch in the smaller container of water.
- Place a thermometer into the small container of water and heat until it reaches 194ºF (90c).
- Maintain 194ºF (90c) for roughly 30 minutes.
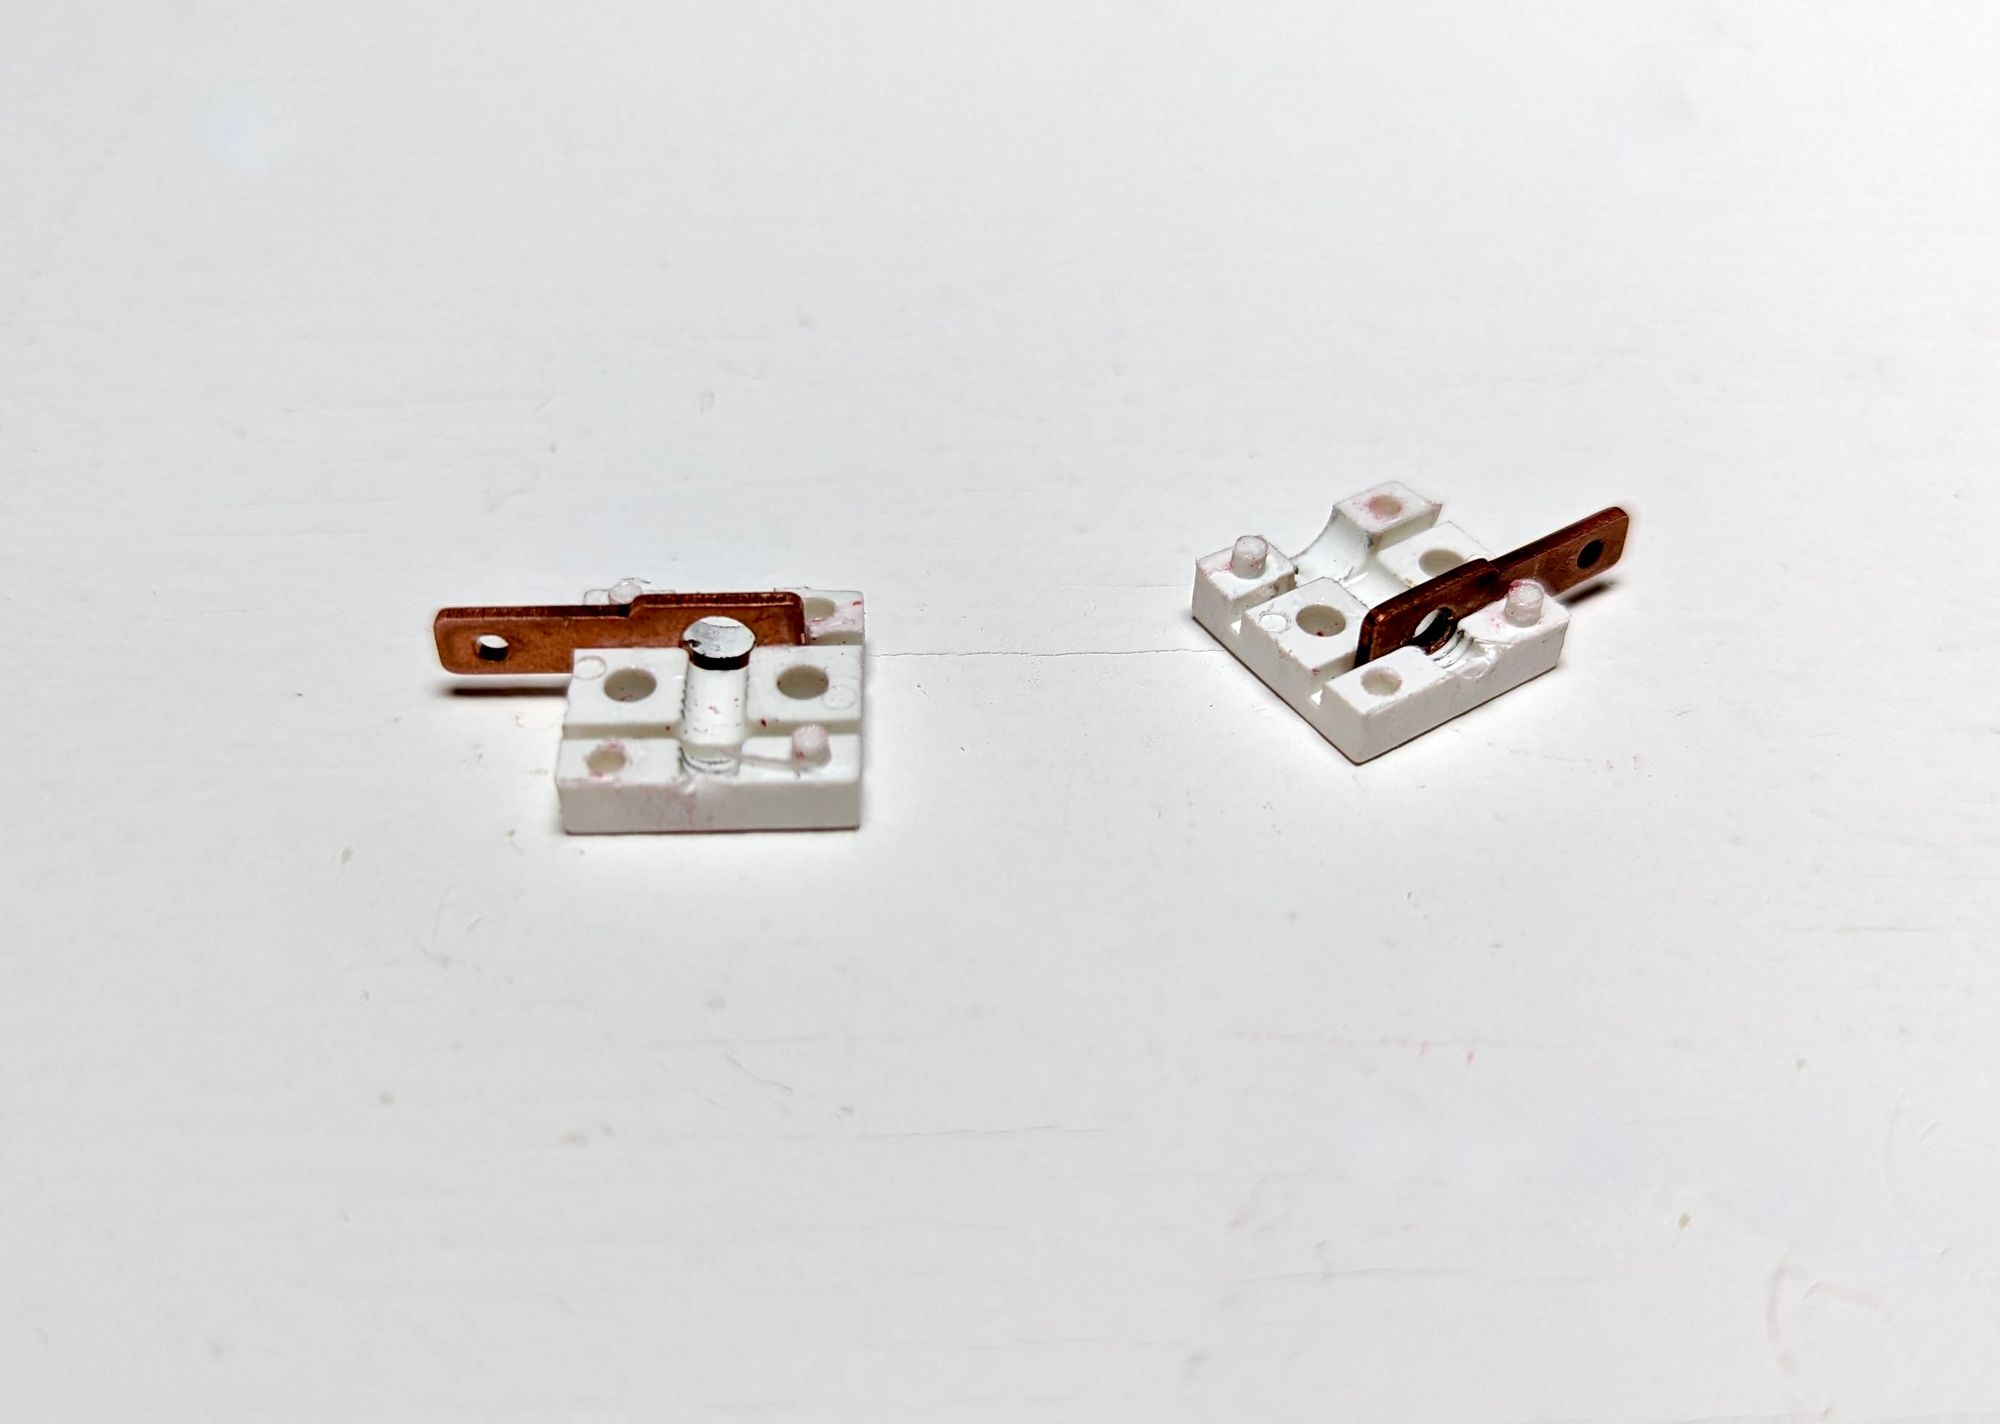
- Remove Switch from water and split along the seam with a razor blade.
- Be careful to not cut the inner tabs or your fingers.
Step 2: Assemble Switch
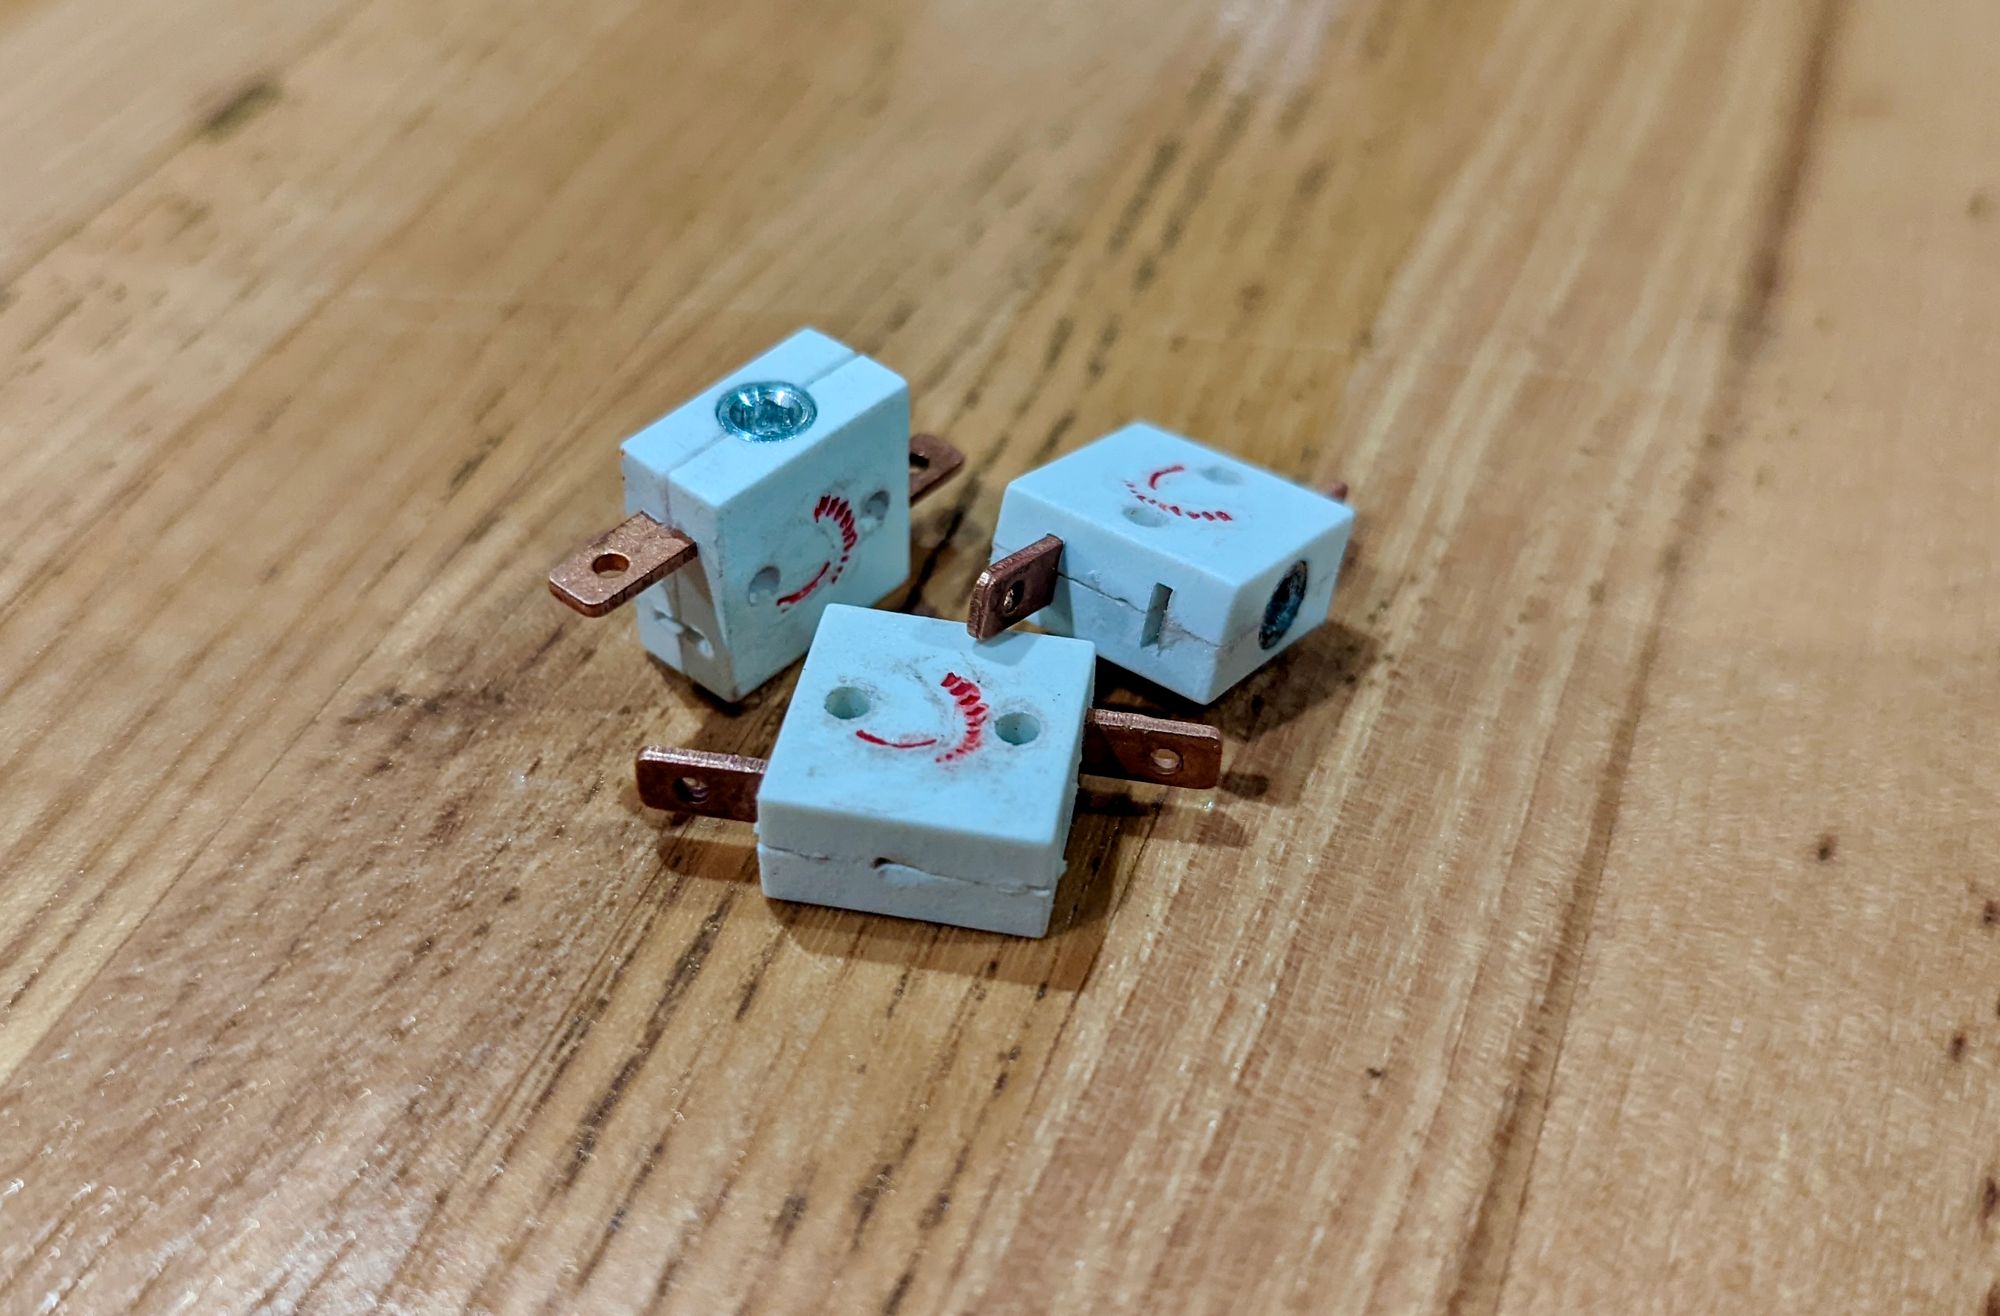
- Swap the top copper contact so it is pointing in the opposite direction of the bottom plate.
- Squeeze out a small amount of CA glue onto a clean, disposable surface
- Use a toothpick to dab a small amount of CA glue into the tab-slots.
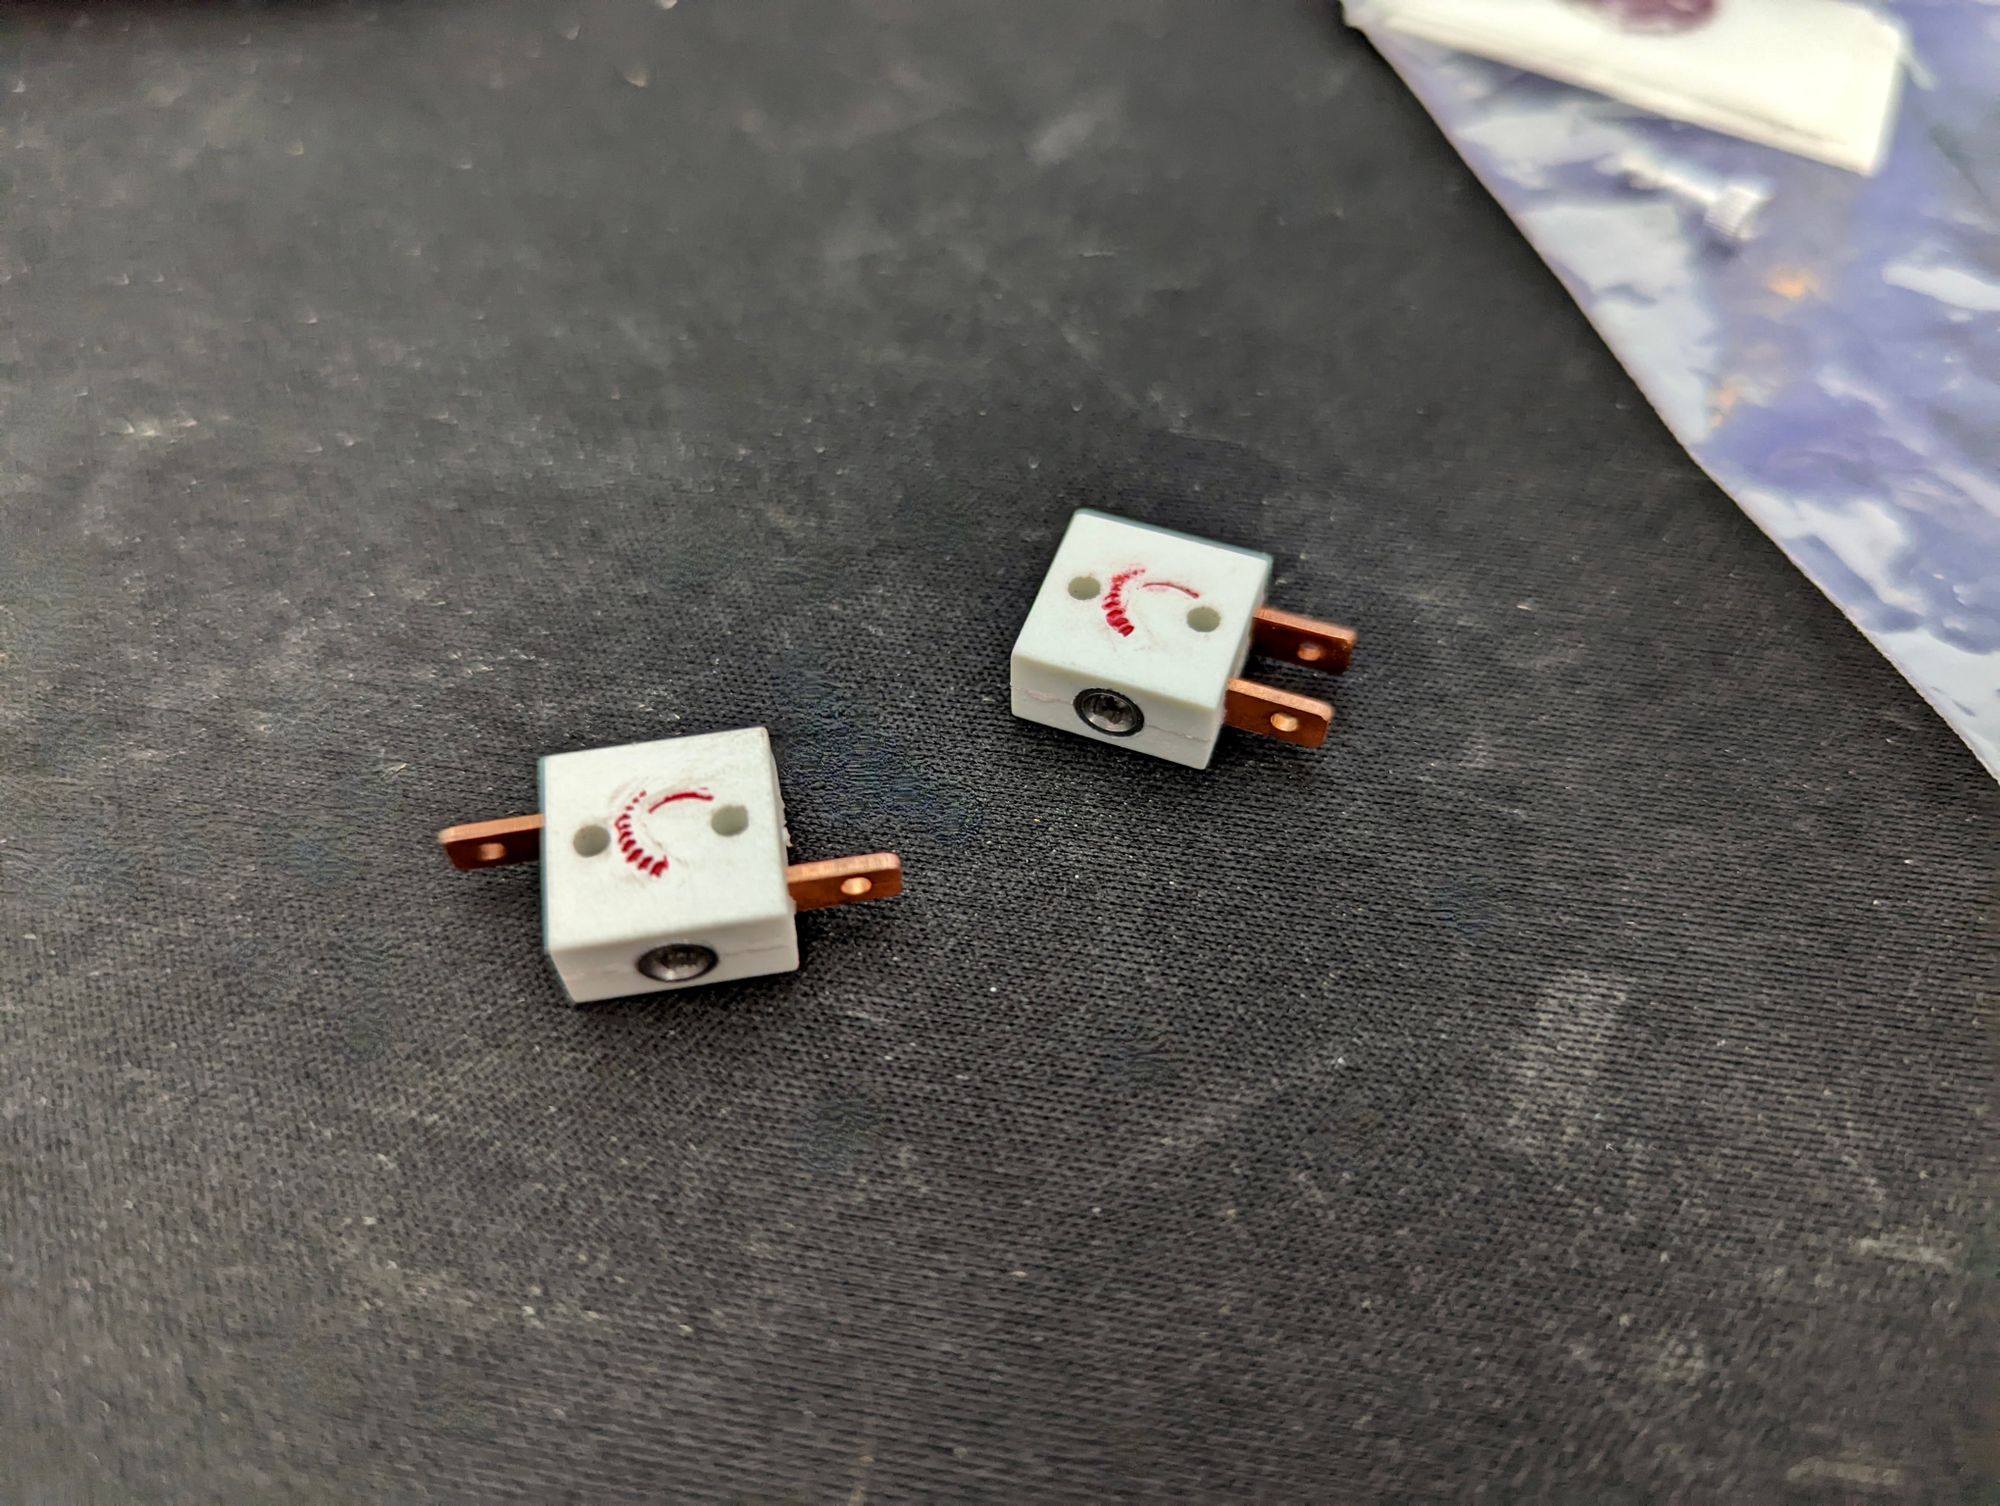
- Place the two shell halves back together, lining up the tops.
- Use a small clamp to hold the two halves together while the glue sets.
- Allow adequate time for the glue to cure before removing clamps.
- Reinstall the aluminum screw.
Step 3: Verify Switch Functionality
- Start with the switch in the closed state (turn the aluminum screw clockwise until it stops).
- Measure continuity of the switch between the terminals; verify that the circuit is closed Open the connection (turn the aluminum screw counter-clockwise 1 full turn).
- Measure continuity of the switch between the terminals; verify that the circuit is opened close the switch once more.
- Measure continuity of the switch between the terminals; verify that the circuit is closed.
And that's it!